
DTF vs Other Methods, Film and Finishes, Pressing and Care
Iron-On DTF Transfers: What Changed — and What Still Needs a Heat Press
Sep
You have a design in mind, a T-shirt ready to go and an iron in the cupboard. Do you really need to buy a heat press to bring the two together?
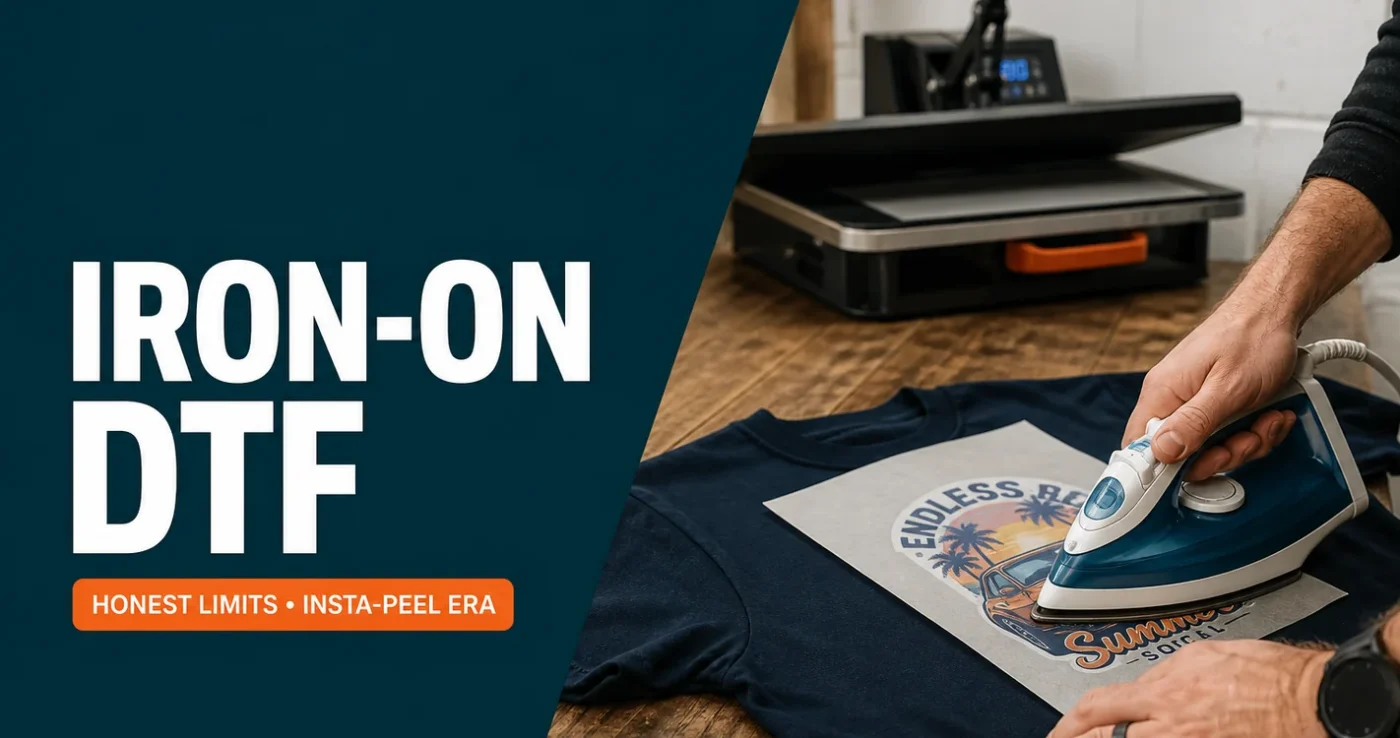
With our dedicated Iron-On DTF transfers, you can apply a full-colour design using a household iron or a suitable craft press. The key is choosing the correct transfer and taking care with heat, pressure and preparation.
This guide explains which products suit home application, how to get started and when a heat press is the more practical choice.
At a glance
- Choose the Iron-On range: Our standard Insta-Peel sheets, gang sheets and speciality finishes require a proper heat press.
- Start with a suitable garment: Check its care label and test first. We strongly recommend against applying our Iron-On transfers to polyester with a household iron or craft press.
- Prepare carefully: Use a dry garment, steam switched off and a firm, heat-resistant surface.
- Follow the correct instructions: Household-iron guidance differs from our heat-press and Insta-Peel settings.
- Choose a heat press for repeatable production: Controlled heat and pressure are particularly valuable for customer orders, batches and larger designs.
What are Iron-On DTF transfers?
DTF stands for direct to film. Your artwork is printed onto a carrier film, with an adhesive layer that bonds the design to suitable fabric when heat and pressure are applied. The carrier is then removed, leaving the printed design on the garment.
Our Iron-On DTF range is supplied specifically for application with a household iron, craft press or EasyPress-style tool. It gives home makers a way to try full-colour garment decoration without buying a conventional heat press first.
It is a practical option for personal projects, gifts and occasional small batches. You supply print-ready artwork, we print the transfer and you apply it to your garment.
If you are new to the process, our guide to how DTF transfer printing works explains what happens between the artwork file and the finished print.
Which transfers work with your equipment?
The word “DTF” does not tell you which application tool to use. Check the product name and instructions before ordering.
| Transfer range | Household iron or craft press | Proper heat press |
|---|---|---|
| Dedicated Iron-On DTF | Yes, following the instructions for your tool and transfer | Yes, using the appropriate product instructions |
| Standard Insta-Peel sheets and gang sheets | No | Required |
| Speciality finishes | No | Required; follow the cold-peel instructions |
Our speciality gold, silver, glitter, glow, neon, pearl and reflective finishes are supplied as sheets and require a heat press. They are not part of the household Iron-On range.
Does Insta-Peel mean a transfer can be ironed on?
No. Peel timing and equipment compatibility are different things. Insta-Peel describes how the carrier releases in the intended heat-press process; it does not make a standard transfer suitable for an iron.
Follow the instructions for the product you receive. Our Hot Insta Peel film guide explains the standard heat-press workflow in more detail.
Choosing a suitable fabric
A smooth cotton garment that permits the required heat is a sensible starting point for a first project. Check the care label, keep the print area clear of seams and test on a spare garment or fabric sample before using an item that matters to you.
We strongly recommend against using our Iron-On DTF transfers on polyester with a household iron or craft press. Polyester can be sensitive to heat, and its dyes can migrate into the print. Hand-applied heat and pressure make the result harder to control.
For polyester projects, use an appropriate standard transfer with a proper heat press and test the complete process first. Our guide to DTF printing on polyester covers the considerations in more detail.
Blended fabrics also need checking. A garment containing cotton may still include polyester, stretch fibres or a finish that changes how it responds to heat.
How to apply an Iron-On DTF transfer with a household iron
The following starting settings are for DTF Transfers Australia’s dedicated Iron-On transfers applied with a household iron. They are not settings for standard Insta-Peel or speciality products.
| Setting | Household-iron starting guidance |
|---|---|
| Temperature | Approximately 135–145°C |
| Steam and water spray | Off |
| Initial pressing | Approximately 10 seconds per section |
| Pressure | Firm and even |
| Before peeling | Cool for approximately 30–60 seconds; longer if still hot |
| Finishing press | 10–15 seconds per section through baking paper |
Irons vary in temperature accuracy and heat distribution. Always check the instructions supplied with your transfer and test the settings on your chosen fabric. Keep our full transfer fitting instructions handy while you work.
1. Set up a firm pressing surface
Use a stable, flat, heat-resistant surface that can withstand firm downward pressure. Avoid a soft, heavily padded ironing board or a thick towel beneath the print area.
Switch off steam and allow the iron to heat fully. If it only has fabric names or dot settings, consult its manual: those markings do not provide an exact temperature. Do not automatically choose the highest setting.
2. Remove creases and moisture
Pre-iron the area where the design will sit. If steam rises from the fabric, continue until it stops. Keep collars, seams, buttons and zips outside the pressing area so the iron can sit flat.
This preparation helps the transfer make even contact with the garment. Our article on moisture and DTF transfer adhesion explains why a dry print area matters.
3. Position and cover the transfer
Place the adhesive side against the fabric, leaving the clear carrier attached. The design should read correctly through the film. Check the position, then cover the entire transfer with baking paper.
4. Press each section
Hold the iron flat and press straight down with firm, even pressure for approximately 10 seconds. Lift it to move to the next area rather than sliding it across the design.
Slightly overlap each placement, working across all edges and details. This also helps cover areas beneath the iron’s steam holes. The pressing time is per section, not for the whole design.
5. Cool and peel carefully
Remove the baking paper and allow the transfer to cool for approximately 30–60 seconds, or longer if it is still hot. Hold the garment flat and slowly peel the carrier back over itself, keeping it close to the fabric.
If part of the design lifts, stop. Lower the carrier back into position, cover with baking paper and reapply heat and firm pressure to that area. Allow it to cool again before retrying. Do not pull the film away from a lifting design.
6. Finish the application
Once the carrier is removed, cover the print with baking paper and press for another 10–15 seconds per section. Work across the entire design, then allow the garment to cool flat before wearing, folding or stretching it.
Never put the iron directly onto the exposed print. If the transfer still will not adhere after re-pressing, contact us before applying more heat.
Using a Cricut EasyPress or craft press
A craft press can provide a larger flat heating surface and a digital temperature setting, depending on the model. You still supply the pressure by hand, so the work surface and your technique matter.
Use our dedicated Iron-On range and follow our Cricut EasyPress fitting instructions for Iron-On DTF Transfers.
For a first attempt, choose a design that fits comfortably within the heated plate. Larger designs require multiple placements, which makes even coverage more difficult.
How long will an iron-on DTF print last?
There is no single wash count that suits every fabric, transfer and application. Durability depends on how well the adhesive bonds, how the garment is worn and how it is washed.
A household iron or craft press makes consistent heat and pressure harder to achieve than a proper heat press. An attractive result on the first day does not necessarily tell you how the print will perform after washing. Do not assume hand-applied results will match the durability of a correctly heat-pressed transfer.
For personal projects, test a sample and check it after washing. For garments you intend to sell, test the complete application and care process before making durability claims.
Looking after the finished garment
- Wait at least 24 hours before the first wash.
- Turn the garment inside out and use a cold, gentle wash with mild detergent.
- Avoid bleach and fabric softener.
- Line dry where possible and avoid tumble drying.
- Do not iron directly over the printed design.
Good care helps preserve a well-applied print, but it cannot correct incomplete bonding.
When a heat press becomes the better choice
A proper heat press becomes especially useful when you are making customer orders, producing batches or working with larger artwork. It makes pressure and timing more repeatable across the design.
If you are reaching that stage, our new versus used heat press guide can help you assess the options.
Troubleshooting your first transfer
| What you notice | What to check |
|---|---|
| The design lifts with the carrier | Stop peeling. Check cooling time, pressure, temperature and whether the whole area received heat. |
| Only some sections stick | Look for missed areas, uneven pressure, moisture or raised seams beneath the design. |
| Small edges or corners lift | Check that those areas received both the initial application and the finishing press. |
| The garment marks or changes colour | Stop and reassess fabric suitability and temperature before continuing. |
| The print lifts after washing | Review the original application and garment care. Test a fresh sample before making more garments. |
Frequently asked questions
Can I apply any DTF transfer with an iron?
No. Only choose products specifically labelled for iron-on application. Our standard Insta-Peel sheets, gang sheets and speciality transfers require a proper heat press.
Can I use an Iron-On transfer on polyester?
We strongly recommend against using our Iron-On range on polyester with a household iron or craft press. Use an appropriate standard transfer and a proper heat press, with testing for the particular fabric.
Should I peel an Iron-On transfer immediately?
Follow the instructions for your product and application tool. Our household-iron instructions call for approximately 30–60 seconds of cooling before peeling, with longer allowed if the transfer is still hot. Do not substitute the immediate-peel method used for standard Insta-Peel transfers.
Can I apply gold, glitter or reflective transfers with an iron?
No. Our current speciality finishes require a proper heat press and cold peeling. They are supplied as speciality sheets, rather than as part of the Iron-On range.
Do you supply the finished printed T-shirt?
DTF Transfers Australia supplies the printed transfer for you to apply. If you would prefer to order a garment with the printing completed, visit our sister business, T Shirts Australia.
Start with the right transfer for your project
A small design, a suitable garment and a careful first test are a good way to begin. Once you are comfortable with the process, you can decide whether occasional iron-on projects suit you or whether a heat press would make your next steps easier.
Browse our transfer range and choose a product explicitly labelled Iron-On if you are using a household iron or craft press. Before applying it, read the fitting instructions for your transfer and tool.
