
Artwork and Files
How to Use Photopea to Create Print-Ready DTF Artwork
Apr
First published: 13 April 2025 | Last updated: 23 September 2026 | By: David Seth
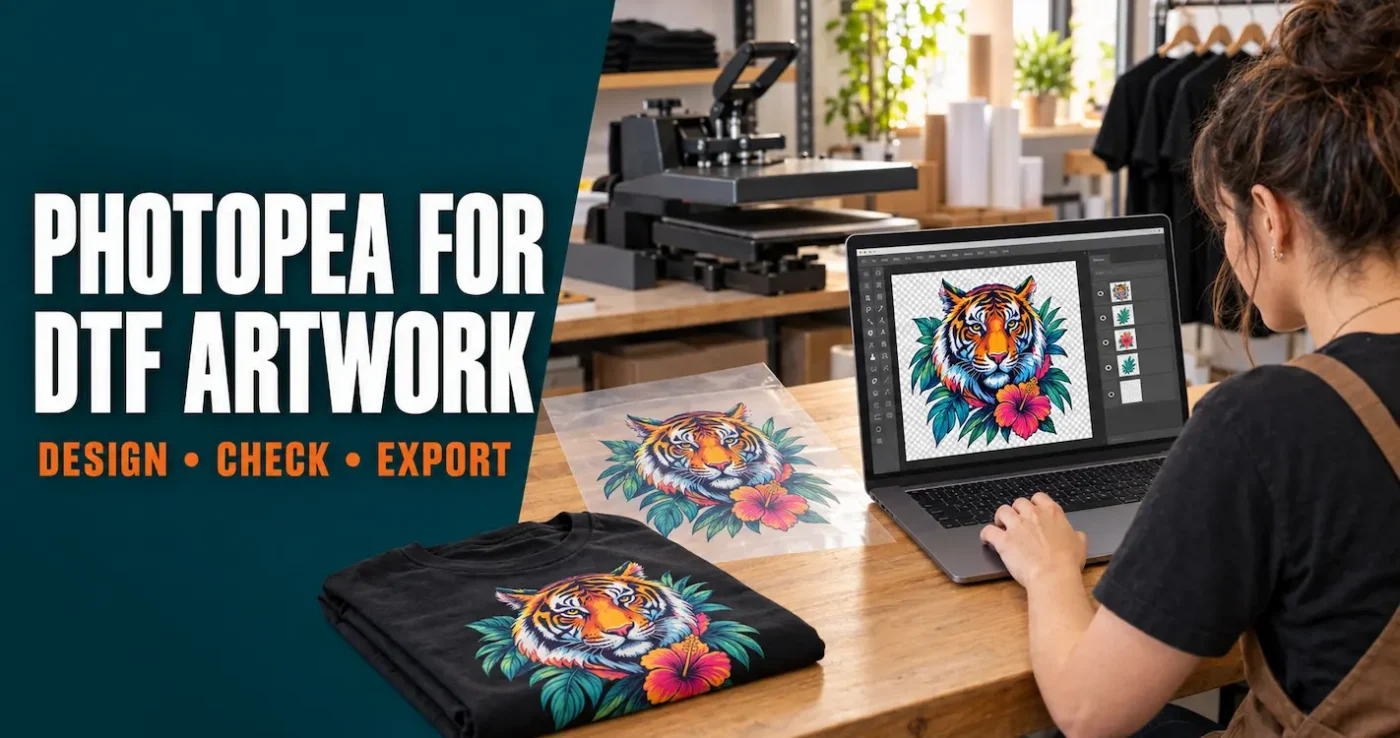
You do not need an Adobe Photoshop subscription to prepare professional artwork for DTF transfers. Photopea is a capable browser-based image editor with a workflow that will feel familiar to Photoshop users. It can open PSD files, work with layers and masks, remove backgrounds, resize artwork and export transparent PNG files.
For a new T-shirt entrepreneur, those are more than editing features. Learning how to size a design correctly, preserve transparency and inspect fine detail gives you greater control over your products. It can reduce avoidable mistakes, make repeat orders easier and help you communicate more confidently with printers and customers.
At a glance
- Photopea is a free, browser-based alternative with a Photoshop-like layer workflow.
- For our standard DTF transfers, supply a tightly cropped PNG with a transparent background at 300 DPI at the final print size.
- Changing a low-resolution file from 72 to 300 DPI does not magically add real detail.
- Keep important lines and isolated details at least 4 pixels, or approximately 1 mm, wide.
- Save an editable PSD master, then export a separate PNG for printing.
- DTF Transfers Australia prints artwork as supplied, so check the size, transparency, spelling and image quality before ordering.
What is Photopea?
Photopea is an online image editor that runs in a web browser. You can use it on a Windows computer, Mac or Chromebook without installing a large desktop application. The free version is supported by advertising, and the editor provides many tools commonly used when preparing print artwork, including:
- layers and layer groups;
- raster and vector masks;
- selections and background removal;
- text, shapes and smart objects;
- image sizing, cropping and colour adjustments;
- support for PSD, PNG, JPG, SVG, PDF and other common formats; and
- transparent PNG export.
Photopea is particularly useful when you receive a PSD template or follow a Photoshop tutorial. The names and locations of some commands may differ, but the underlying way of working—with layers, selections, masks and editable master files—is very similar.
Important: make sure you are using Photopea.com. Avoid lookalike sites, and keep a local copy of important artwork rather than relying on an open browser tab as your only copy.
How similar is Photopea to Photoshop?
| Task | Photopea | Why it matters for DTF artwork |
|---|---|---|
| Layer-based editing | Very similar layer panel and ordering | Keep text, graphics and adjustments editable |
| PSD files | Can open and save PSD documents | Useful for templates and reusable master artwork |
| Selections and masks | Photoshop-like selection and masking tools | Remove backgrounds while retaining editable edges |
| Keyboard shortcuts | Many familiar shortcuts are supported | Skills and tutorials transfer across more easily |
| Transparent PNG export | File > Export As > PNG | Creates the file normally required for our DTF transfers |
| Cost and installation | Free version runs in a browser | A practical starting point for a new or small business |
Photopea is not an exact replacement for every specialist Photoshop feature, plug-in or automated production workflow. However, for sizing, background removal, basic design changes and transparent PNG preparation, it gives many small apparel businesses the tools they actually need.
DTF artwork requirements before you begin
For the best result with DTF Transfers Australia, prepare your standard transfer artwork to these specifications:
- File format: PNG.
- Background: transparent, unless a coloured background is intentionally part of the design.
- Resolution: 300 DPI at the actual size you want printed.
- Minimum detail: no line, isolated dot or element narrower than 4 pixels, approximately 1 mm.
- Canvas: crop tightly to the visible design with no unnecessary transparent space.
- File size: no larger than 254 MB.
- Orientation: submit the artwork the correct way around; do not mirror it.
These requirements are also covered in our DTF artwork FAQ and the main DTF Transfers Australia FAQ.
We print the file you supply. A file can open successfully and still contain a white background, blurred edges, spelling errors or insufficient resolution. Always inspect the finished PNG at the intended print size before ordering.
Understand pixels, print size and DPI
This is where many otherwise good designs go wrong. DPI describes how densely the available pixels are printed. It does not tell you how much genuine detail the original image contains.
At 300 DPI, the approximate pixel width you need is:
| Final print width | Approximate pixels at 300 DPI |
|---|---|
| 100 mm | 1,181 px |
| 200 mm | 2,362 px |
| 280 mm | 3,307 px |
| 300 mm | 3,543 px |
| 580 mm | 6,850 px |
Formula: millimetres ÷ 25.4 × 300 = required pixels.
For example, a 1,000-pixel-wide image has a high-resolution print width of only about 85 mm at 300 DPI. Typing “300” into the DPI field does not turn that file into a detailed 300 mm-wide image. If Photopea resamples it to a larger pixel count, it must estimate the new pixels; it cannot recover detail that was never there.
If your source is too small, return to the original artwork, rebuild simple elements as text or vector shapes, or consider careful AI image upscaling for DTF printing. Upscaling may improve a usable image, but it still needs close inspection for altered lettering, strange edges and invented details.
Step-by-step: prepare DTF artwork in Photopea
1. Open the highest-quality source file
Go to Photopea and choose File > Open, or drag the file into the editor. Start with the original PSD, PNG, SVG or highest-resolution image available. An image downloaded from a social media post, message preview or website thumbnail is often compressed and may be too small for a large print.
2. Create an editable master before changing anything
Choose File > Save as PSD and give the working file a clear name, such as brand-name-front-print-master.psd. A PSD can retain layers, text, masks and editable objects. Your print-ready PNG is a delivery file; it should not be your only master.
It is also worth duplicating the original artwork layer before editing. Hide and lock one copy. If a selection or adjustment goes wrong, you can return to the untouched source without starting again.
3. Check the pixel dimensions and intended print size
Open Image > Image Size. Set the units to millimetres and review the width, height, DPI and pixel dimensions together.
- If the pixel count is already sufficient, enter the required physical size and 300 DPI without unnecessarily enlarging the artwork.
- If the design is much smaller than the required pixel dimensions, changing DPI alone will not repair it.
- If you must resample, inspect the result closely and compare it with the source.
- Keep the width and height linked so the design is not stretched out of proportion.
4. Remove the background
A grey-and-white checkerboard in Photopea represents transparency. If you can see a white rectangle behind the design, that rectangle will normally be treated as printable artwork.
Choose the method that suits the image:
- Simple one-colour background: use the Magic Wand to select the background, then turn the selection into a layer mask.
- Photograph or more complex subject: try Select > Remove BG, then inspect and refine the result.
- Hair, fur or intricate edges: use selection tools and Refine Edge, then work on the layer mask.
- Clean logo: rebuilding poor-quality text and shapes may produce a better result than trying to erase compression artefacts.
A mask is generally safer than permanently erasing pixels. On a raster mask, black hides, white reveals and grey creates partial transparency. This lets you repair an edge later without having to restore deleted pixels.
5. Inspect the cut-out against light and dark backgrounds
Add two temporary solid-colour layers beneath the design—one white and one dark grey or black. Switch between them while zoomed in around the edges.
Look for:
- white or coloured halos left from the old background;
- small unwanted islands and stray pixels;
- holes accidentally removed from letters or artwork;
- soft, semi-transparent edges that may not print as expected; and
- jagged areas caused by an overly harsh selection.
Do not export the temporary checking layers. They exist only to reveal problems that can be hard to see against Photopea’s checkerboard.
6. Review colour, contrast and fine detail
Zoom to 100% and check the image rather than judging it only while zoomed out. Pay particular attention to small lettering, distressed textures, thin outlines and isolated specks.
DTF can reproduce impressive detail, but the adhesive still needs enough printable area to form a durable transfer. Keep important elements at least 4 pixels, approximately 1 mm, wide. If a distressed effect breaks a letter into dozens of tiny isolated dots, simplify it rather than relying on every speck to survive production and wear.
Use adjustment layers where practical so the changes remain editable. Be cautious with transparency, shadows and fades: deliberate semi-transparent effects may print differently on light and dark garments because DTF uses a white ink base.
7. Check all text and design rights
Read every word at least twice. Confirm names, dates, phone numbers and punctuation. If a font has been substituted, compare it with the approved design.
You must also have permission to reproduce the design, logo, photograph and font. Our guide to copyright and T-shirt artwork explains why an image being visible online does not automatically give you printing rights.
8. Trim the canvas tightly
Remove unnecessary transparent space around the design. You can use Image > Trim where appropriate or crop carefully to the artwork bounds.
A tight canvas makes the requested print size unambiguous. If a small chest logo is sitting in the centre of a much larger transparent canvas, the file dimensions describe the canvas—not only the visible logo.
9. Save the master, then export the print file
- Save the editable PSD again.
- Hide or remove the temporary background-check layers.
- Choose File > Export As > PNG.
- Confirm the exported pixel dimensions have not been unintentionally reduced.
- Save the PNG with a useful name that includes the design and size.
PNG supports transparency; JPEG does not. A JPEG export will flatten transparent areas onto a solid background and is therefore unsuitable when you need only the artwork to print.
10. Reopen and preflight the exported PNG
Do not assume the export is correct. Open the new PNG in Photopea as a separate document and check:
- the background is genuinely transparent;
- the pixel dimensions and aspect ratio are correct;
- the design is the intended physical size at 300 DPI;
- there is no excessive empty canvas;
- fine elements meet the minimum size;
- text is correct and nothing has moved; and
- the file is under 254 MB.
Once it passes these checks, the artwork can be uploaded to a custom DTF transfer product or arranged with other designs on a DTF gang sheet.
Why Photopea is a valuable skill for a T-shirt entrepreneur
Running a T-shirt business does not mean you must become a full-time graphic designer. It does mean that being able to inspect, resize and make sensible adjustments to artwork can save time and protect your margin.
You can respond to customers more confidently
When a customer sends a small logo with a white box around it, you can explain what is wrong rather than discovering the problem after printing. You will also know when a file can be repaired quickly and when the customer needs to supply a proper original.
You can build reusable products
A layered PSD master makes it easier to change a name, number, colour or date without rebuilding the entire design. This is valuable for team apparel, event shirts, workwear and personalised products.
You can start lean
Photopea removes one software subscription from the initial cost of learning. Combined with professionally printed, ready-to-press transfers, it allows a new business to concentrate on artwork, garment selection, pressing, presentation and selling rather than immediately purchasing and maintaining a DTF printer.
For a wider view of the process, read our guides to starting a T-shirt business with DTF transfers and scaling your DTF transfer workflow.
The skills can grow with you
The habits learned in Photopea—non-destructive editing, naming layers, checking resolution, using guides and maintaining master files—are transferable to Photoshop and other professional design software. Even if you change tools later, the time spent learning a disciplined workflow is not wasted.
Common Photopea and DTF artwork mistakes
Changing 72 DPI to 300 DPI and assuming the file is fixed
Check the pixels available at the final print size. DPI metadata alone cannot create detail.
Using destructive erasing for every background
A layer mask allows you to refine or restore an edge. Permanent erasing gives you fewer options when you notice a mistake later.
Leaving a white fringe around the design
Background-removal tools are a starting point, not a guaranteed finished result. Inspect edges against both dark and light test layers.
Exporting a JPEG
JPEG cannot retain transparency. Export the print-ready version as PNG.
Using a screenshot or social media download
These files are commonly scaled down and compressed. Ask for the original artwork whenever possible.
Making thin detail because it looks sharp on screen
Your screen can display a line that is too small to form a reliable printed and adhesive-backed element. Design for the physical transfer, not only the monitor.
Forgetting to save an editable master
A flattened PNG is ideal for printing but inconvenient for future editing. Keep the PSD and the exported PNG.
Assuming screen colour is an exact print proof
Monitors emit light and vary in calibration; printed ink behaves differently. Photopea is excellent for preparation, but it cannot make an uncalibrated screen an exact colour proof.
Print-ready DTF artwork checklist
- PNG format
- Transparent background
- 300 DPI at the final print size
- Enough pixels for the required width and height
- No important element below 4 pixels or approximately 1 mm
- Tightly cropped canvas
- No halos, stray pixels or unintended semi-transparency
- Spelling and numbers checked
- Correct orientation—do not mirror
- File below 254 MB
- Permission held for all artwork and fonts
- Editable PSD master saved separately
Photopea and DTF artwork FAQs
Is Photopea free to use?
Photopea offers a free, advertising-supported version that runs in a web browser. It is a practical option for learning image preparation without committing to a Photoshop subscription.
Can Photopea open Photoshop files?
Yes. Photopea can open and save PSD files and supports layers, masks, smart objects and many familiar editing tools. Complex documents should still be checked carefully for font substitution or unsupported effects.
Can Photopea make a low-resolution image print-ready?
It can resize or resample an image, but it cannot recover genuine detail that was absent from the source. Simple logos may be better rebuilt using clean text and vector shapes. AI upscaling can sometimes help, but the result must be inspected closely.
Should DTF artwork be RGB or CMYK?
For artwork supplied to DTF Transfers Australia, work in RGB and export a high-quality transparent PNG. Do not make an arbitrary CMYK conversion in the hope that it will guarantee exact colour. Printer profiles, inks, film, software and garment colour all influence the finished appearance.
Why does my PNG still have a white background?
The white area may be part of the artwork, or the file may have been flattened before export. In Photopea, transparent areas display as a checkerboard. Remove or mask the background, hide any solid background layer and use File > Export As > PNG.
Should I mirror my DTF design?
No. Supply your artwork in its normal reading orientation. Our production process handles the required print orientation.
Can I create a DTF gang sheet in Photopea?
You can arrange multiple designs on a correctly sized canvas, but every design still needs to meet the artwork requirements. Our gang sheet builder can also arrange uploaded transparent PNG files, which is often easier and reduces the risk of using the wrong canvas size.
Does DTF Transfers Australia fix artwork before printing?
Artwork is printed as supplied. Preparing and checking the file remains the customer’s responsibility, which is why learning a dependable Photopea workflow is so useful.
From artwork file to finished T-shirt
Photopea gives a beginner access to serious image-editing tools without a large upfront software cost. More importantly, it teaches the habits behind reliable print artwork: work from the best source, edit non-destructively, understand pixels, inspect transparency, save a master and preflight the exported file.
Those skills will not only help you order better DTF transfers. They will help you build repeatable designs, reduce avoidable reprints and take greater control of a growing apparel business.
About the author
David Seth has worked with garment decoration since the 1990s. He founded The Custom T Shirt Shop in Brisbane in 2010 and DTF Transfers Australia in 2020. This guide combines practical artwork-preparation requirements with the production issues we see when customer files are turned into ready-to-press transfers.
