
Running a Print Business
Create Your Own T-Shirt Label: Branding, Neck Prints and Your First Range
Feb
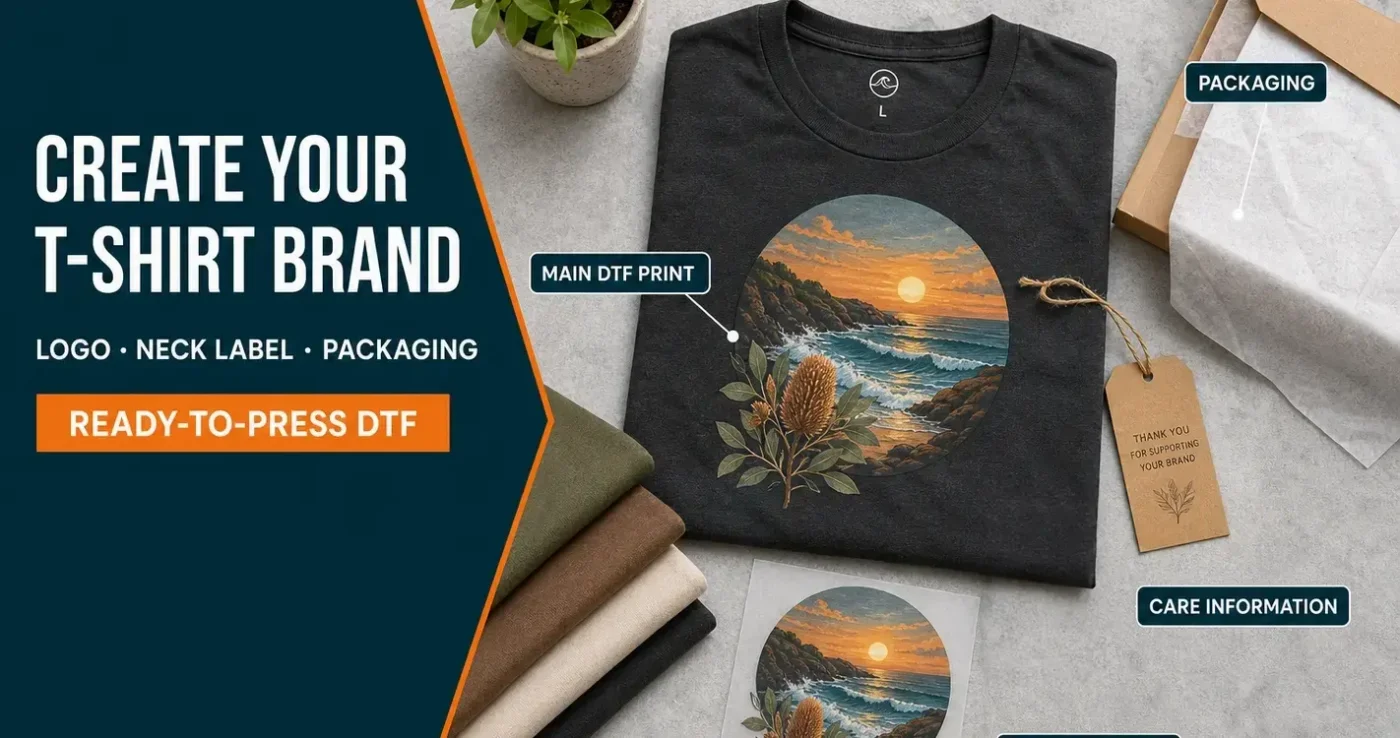
Creating your own T-shirt label starts with a product people want to wear: a design they connect with, a comfortable garment and a clear identity behind it. Your logo, neck labels and packaging help bring those choices together.
You do not need to manufacture a T-shirt from scratch to begin. Suitable blank garments and ready-to-press DTF transfers let you develop a small collection, test the finished shirts and add your own branding.
This guide covers both meanings of a T-shirt label: the clothing brand you are building and the physical branding you add to each garment. It explains how to make them work together, from choosing a name to designing a practical inside-neck print.
TL;DR — creating your own T-shirt label
- Start with a clear product idea. Decide who the shirts are for, what makes the designs recognisable and which fit suits your customers.
- Check the name before investing. Search for existing brands, business names, trade marks and suitable domain names.
- Choose a dependable blank garment. Fit, fabric and repeat availability matter as much as the main print.
- Keep neck branding simple. A compact logo and size can be more useful than a crowded block of tiny text.
- Check before removing original labels. Your brand print does not automatically replace the garment’s care information.
- Test the complete product. Wear and wash samples before launching a small first collection.
Clothing brands and garment labels explained
A clothing label usually means the brand selling the clothes. A garment label is the physical label or print on the shirt. A shirt may have several labels with different purposes.
| Item | Purpose |
|---|---|
| Brand label or neck print | Identifies the brand and may also show the size. |
| Size label | Shows the garment’s size or fit code. |
| Care label | Explains how to wash, dry and otherwise care for the garment. |
| Composition information | Describes the fibres used in the fabric, sometimes on the same label as the care instructions. |
| Hang tag or swing tag | A removable card for branding, product details or a retail price. |
For example, your shirt could have a small DTF brand-and-size print inside the neck, retain appropriate sewn-in care information and carry a removable swing tag.
Decide what your T-shirt label stands for
Think about the person choosing your shirt. Are they buying your illustrations, a connection to a community, a particular style or a fit they struggle to find elsewhere?
Write a short description of your intended range. For example, you might offer original coastal illustrations on relaxed-fit cotton tees, or bold graphic designs on heavyweight shirts. This gives you a basis for choosing garments, artwork, photos and packaging.
Your first collection does not need to appeal to everyone. A small range with a clear style is easier to present than a mixture of unrelated designs.
For equipment, business setup and selling channels, see our separate guide to starting a T-shirt business with DTF transfers.
Choose and check your brand name
Choose a name people can remember, pronounce and search for. Try saying it aloud and placing it on a simple shirt mock-up. Consider whether it will still suit the brand if you later add hoodies, caps or other products.
Before ordering printed labels or packaging, check:
- whether another clothing business uses the same or a similar name;
- Australian business-name and trade mark availability;
- domain names and the social handles you want to use;
- whether the spelling is likely to confuse customers.
Business-name registration and trade mark protection are separate matters. A name being available as a domain does not establish your right to use it as a clothing brand. Use IP Australia’s trade mark guidance and search tools when checking your proposed identity.
Create a consistent visual identity
You need a logo that works in the places customers will see it: the shirt, website, social profile and packaging. A detailed design may look good across a screen but lose clarity inside a neckline.
Prepare a main logo, a simplified small version and a one-colour version. Choose a small set of colours and typefaces, then use them consistently.
Keep the original editable artwork. Export separate files for different uses rather than relying on screenshots or enlarging a small social-media image.
The photography and wording should feel consistent too. If your range is built around relaxed everyday wear, show the actual fit and explain it plainly. Customers should recognise the same brand from the product page through to the shirt they receive.
Choose the right blank garments
The blank becomes part of your product’s reputation. Order samples and compare fit, fabric, stitching, colour and how the garment changes after washing.
Also check repeat availability. A popular shirt that cannot be reordered consistently may make it difficult to keep your range dependable.
If you plan to add your own neck branding, look for garments intended for relabelling. A removable brand tag with separate care information can make the work easier than a combined label sewn into the neckline.
Start with a manageable number of styles and colours. Use our T-shirt fabric guide to compare cotton, polyester and blends before deciding what suits your range.
Develop your designs and print files
Create a small group of designs that belong together. They do not need to be identical, but a shared drawing style, subject or colour palette can make the collection easier to recognise.
Use original artwork or designs with appropriate commercial permission. If you commission a designer, agree in writing how you can use and adapt the work. Keep licences and approvals with the master files.
For DTF Transfers Australia, prepare transparent PNG files at the finished print dimensions, aiming for 300 DPI at that size. Crop away unnecessary empty space and check spelling, edges and fine details.
Our service prints the artwork supplied. A neck logo reduced from a large design may need simplifying before it becomes a usable print file. Read the DTF artwork requirements before uploading.
Use DTF transfers for a small clothing range
Ready-to-press DTF transfers let you order your printed artwork and apply it to garments with a heat press. You do not need to own a DTF printer to produce the finished shirts.
This can suit small collections because you can order several designs together and print garments as needed. A gang sheet can include main graphics, sleeve prints and neck labels within the same printable area.
Plan the quantities as well as the layout. If neck labels include sizes, count how many of each size you need. Leave enough space between transfers to cut them apart without damaging nearby artwork.
Order a test quantity first. The main print and neck label may need different placement arrangements at the press, even when they use the same transfer type.
Design an inside-neck label
An inside-neck print can add your brand name and size without a sewn brand tag. It is usually positioned inside the back of the shirt, below the collar seam.
Keep the artwork readable and comfortable
A simple logo and size are often enough. Avoid cramming a full brand story, web address and care instructions into a tiny space.
Keep printed coverage modest. A large solid rectangle can feel noticeable against the skin. Open artwork lets more of the fabric remain uncovered.
There is no universal label width. Print the design on paper at its intended size to check readability, then test an actual transfer on the garment. Check smaller sizes as well as the sample size used for photography.
Check placement and the pressing surface
Keep the print clear of thick seams, neck tape and raised areas that prevent even pressure. Arrange the garment so the intended layer lies flat on a suitable pressing surface, following the equipment instructions.
Check the orientation before pressing. A label should read correctly when the customer looks inside the back neckline. A placement guide can help keep it consistent across a batch.
Follow the fitting instructions for your transfer and test the arrangement. Inspect the outside of the shirt as well: on a thin or light garment, the neck print may show through or pressing may leave a visible mark.
Decide where garment information belongs
Give each label a clear job. The inside-neck print can identify the brand and size, while a suitable sewn label carries the more detailed product and care information.
Keep size references consistent with the garment and the size chart on your website. If you change the blank style, check the measurements before using the same product description.
Use a separate artwork file for each size-specific label and name the files clearly. This reduces the chance of applying an XL label to a medium shirt.
Check Australian care labelling and origin claims
Clothing supplied in Australia is generally covered by the mandatory care-labelling standard, subject to its scope and exemptions. It allows English care instructions, the specified international care symbols, or both. Check the current care-labelling standard before replacing care information.
Care instructions need to suit the finished printed garment. If the blank’s care advice conflicts with the transfer’s requirements, resolve that before sale. A removable hang tag is not a substitute for required permanent care labelling.
Keep origin descriptions accurate. Printing an imported blank locally should not be treated as automatic grounds for calling the complete garment Australian made. Describe the work performed accurately and consider the overall impression created by your wording and imagery. The ACCC’s country-of-origin guidance explains the relevant distinctions.
Relabel blank garments carefully
Check what each original label contains before removing it. A tear-away brand tag and a combined brand-and-care label are not interchangeable.
Confirm the supplier’s relabelling arrangements, retain the original product details and preserve or correctly replace required information. If a tag is sewn into a structural seam, do not cut the stitching simply to remove the branding.
Inspect the result for rough edges or damage. A new neck print will not improve the product if removing the old tag has weakened the collar or left an uncomfortable remnant.
Add hang tags and packaging
A swing tag can introduce the collection, explain the artwork or carry a retail price and product code. Keep it readable and consistent with the information on your website.
Choose packaging that protects the shirt and suits the way it will be delivered. A neatly folded garment with a useful card can present well without several layers of extra material.
Keep supplier claims precise. If you promote a particular fibre, sourcing feature or certification, confirm that it applies to the garment you are actually supplying. Update the information if you change blanks.
Test the finished product
Make a sample exactly as you intend to sell it, including the main print, neck branding and packaging. A digital mock-up cannot show how the fabric feels or how a label behaves against the skin.
Check:
- the garment’s fit, colour and measurements;
- main-print size, alignment and coverage;
- neck-label readability, orientation and comfort;
- show-through, press marks or fabric distortion;
- print adhesion and any colour changes after pressing;
- shrinkage and print performance after washing as directed.
Wear the sample and assess normal movement. The neck area stretches when the shirt is put on, so check that the print remains suitable for that use.
Record the approved garment, design dimensions, placement and press settings. Keep a finished sample as a reference for future orders.
Allow for the cost of branding
Include every print position when costing the shirt. A small neck label uses little space on a gang sheet, but separating, positioning, pressing and checking it still take time.
Add the garment, transfers, freight, labour, tags, packaging, selling fees and a reasonable allowance for rework. Allocate regular overheads consistently, then set a price that leaves room for profit.
Review whether each detail earns its place in the product. A complicated neck label or elaborate packaging adds little value if it slows production without improving the customer’s experience. Our T-shirt pricing guide covers costing in more detail.
Launch your first collection
Begin with a small collection you can produce consistently. Photograph the finished samples and provide clear fabric details, measurements, care advice and production times.
Choose a sales channel you can manage well. You might begin with an existing audience, a local event or a small online store. Use early orders and customer feedback to learn which designs, sizes and colours to keep.
A custom DTF gang sheet can bring the artwork for your first samples together in one order. Check every design and label variant before submitting it.
Avoid common T-shirt branding mistakes
- A logo that loses detail at small sizes: create a simpler version for neck prints.
- Too many styles at launch: start with a range you can photograph, stock and reproduce reliably.
- Uncomfortable neck branding: test coverage, placement and wear before ordering a batch.
- Inconsistent size information: check labels against the actual garment and published measurements.
- Approving from a mock-up alone: inspect and wash a complete physical sample.
- Changing blanks without reviewing the product: update fit, fabric and care information when the garment changes.
Before you launch
- Your name has been checked and your visual identity works at different sizes.
- Your garments suit the customer and can be reordered.
- You have permission to use the artwork and have prepared print-ready files.
- Your main prints and neck labels have been wear- and wash-tested.
- Your garment information and product descriptions are accurate.
- Your price accounts for the complete product and the work involved.
- Your photographs show what customers will receive.
Frequently asked questions
Can I start a clothing label using blank T-shirts?
Yes. Suitable blanks can provide the base for a small clothing range. Choose garments that suit your designs, confirm any relabelling arrangements and test the finished product before selling it.
Can DTF transfers be used for neck labels?
Yes, on suitable garments. Keep the design compact, use readable lettering and test comfort, adhesion and washing. Placement below the collar seam helps avoid raised stitching that can interfere with pressure.
How big should a printed neck label be?
There is no standard size that works for every garment. Choose dimensions that keep the design readable and comfortable, then check the label across the sizes you plan to sell.
Is a printed neck label better than a woven label?
It depends on the product. A printed label avoids adding a sewn brand tag, while a woven label creates a different finish and requires attachment. Compare comfort, appearance, durability and production cost using samples.
Can I put neck labels and main designs on one gang sheet?
Yes. A gang sheet can contain different designs and sizes, including neck branding and front or back prints. Check the quantities of each size label and leave enough cutting space.
Do I need a DTF printer to make my own clothing range?
No. You can buy ready-to-press transfers and apply them with a suitable heat press. Your transfer supplier handles the printing and curing.
Build a label around a product you are happy to sell
A recognisable T-shirt label brings together consistent artwork, a dependable garment and thoughtful finishing. Start with a few tested products, keep the branding clear and use customer feedback to develop the range.
DTF Transfers Australia supplies custom transfers ready for you to apply. Order a custom DTF gang sheet or browse our transfer range to prepare your first samples.
