
Ordering and Gang Sheets
DTF Transfer Printing Guide: From Artwork to Finished Garment
Mar
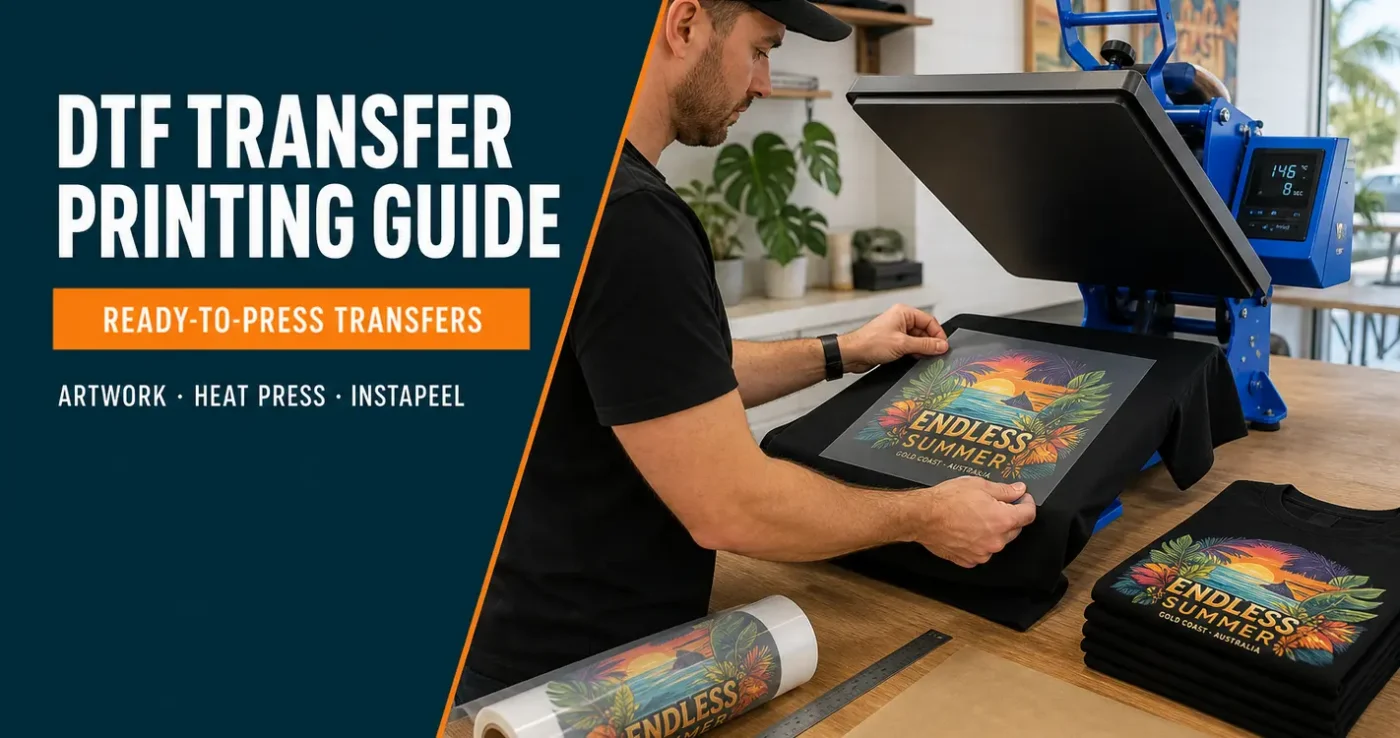
DTF transfer printing lets you apply full-colour designs to garments using a printed transfer and a heat press. You supply the artwork, order the transfers and press them onto suitable T-shirts, hoodies or other fabric items.
You do not need a DTF printer to get started. Ready-to-press transfers arrive with the printing and curing already completed, so you can focus on preparing the garments and applying the designs.
This guide takes you through the complete job: choosing a transfer, preparing artwork, ordering sheets, setting up the press, applying the print and checking the finished garment.
TL;DR — getting a good DTF print
- Choose the garment and transfer together. Fabric, finish, texture and heat tolerance all matter.
- Prepare artwork at its finished size. Use a clear PNG with a transparent background and aim for 300 DPI at the intended print dimensions.
- Use gang sheets for multiple designs or copies. Check quantities, sizes and cutting space before ordering.
- Follow the instructions for your product. Our standard Insta-Peel, cold-peel speciality and iron-on transfers have different application requirements.
- For our Insta-Peel heat-press transfers: start at 160°C for 8 seconds on cotton, or 120°C for 30 seconds on polyester, with firm pressure. Peel cotton immediately while hot; cold-peel polyester only after it has cooled completely.
- Peel Insta-Peel immediately and finish pressing. Use a clean cover sheet for a 10-second finishing press at the same temperature.
- Test the complete process. A clean peel alone does not confirm that a print will withstand washing and wear.
The settings above are starting points for our Insta-Peel transfers used with a heat press. Check the current fitting instructions and test your garment before production.
What is DTF transfer printing?
DTF stands for direct to film. The design is printed onto a coated carrier film, combined with adhesive and cured before being applied to a garment. Heat and pressure bond the transfer to the fabric, and the film is then peeled away.
Standard full-colour DTF uses coloured ink and a white ink base. The white helps colours remain visible on dark garments and allows white elements to be printed as part of the design.
The clear carrier film is temporary. It does not stay on the shirt. However, an unwanted background in your artwork can become part of the print, so transparency needs to be checked before ordering.
For an introduction to the process and how it compares with other printing methods, read our direct-to-film T-shirt printing guide.
Why buy ready-to-press DTF transfers?
Buying transfers ready to press lets you decorate garments without running a printer or managing inks, adhesive and curing equipment. Your main production tool is a suitable heat press.
DTF is useful for detailed artwork, photographs, logos and orders containing several different designs. It does not require a separate screen for each colour, or the cutting and weeding involved with cut vinyl.
You can also keep transfers for repeat designs and apply them when garments are needed, following the recommended storage guidance.
There are limits to consider. The print sits on the fabric, and large solid designs can feel more noticeable than smaller designs with open spaces. Garment compatibility and accurate application remain essential.
Which items can you print with DTF transfers?
Common projects include T-shirts, hoodies, sweatshirts, polos, fabric tote bags, aprons and selected caps. Cotton, polyester and many blends can be suitable.
The item also needs to fit the pressing equipment. A cap requires a suitable curved pressing arrangement, while a zipped hoodie or thick seam can prevent even contact on a flat press.
Check coatings and heat tolerance as well as fibre content. A water-resistant bag is not automatically suitable because another bag made from the same fibre printed successfully.
DTF garment transfers are also different from UV DTF stickers used on hard surfaces. Choose the product intended for the material you want to decorate.
Choose the right transfer for the job
| Transfer type | Typical purpose | Application to follow |
|---|---|---|
| Standard Insta-Peel | Full-colour designs on suitable garments, including gang sheets and standard cut sheets. | Heat-press instructions with immediate peeling and a finishing press. |
| Cold-peel speciality | Special finishes such as metallic or reflective effects. Supplied on sheets, not gang sheets. | The separate speciality heat-press instructions. Allow the transfer to cool completely before peeling. |
| Iron-On DTF | Products specifically sold for application with a household iron. | The iron-on instructions, including their own pressing and peeling method. |
Use the product name and supplied instructions to identify what you have. Do not apply the Insta-Peel table below to a speciality or iron-on transfer.
Our guide to cold peel, hot peel and Insta-Peel film explains why peeling terms and older instructions can cause confusion.
Prepare your artwork at the finished print size
Start with the best original file available. A small image may look sharp on a phone but become blurry when enlarged across the front of a shirt.
- Use a PNG with a transparent background. Remove any box, stray pixels or unwanted background that should not print.
- Set the intended dimensions. Check the width and height on the actual garment or a paper mock-up.
- Aim for 300 DPI at that size. Changing the DPI label without adding genuine image detail will not improve a small file.
- Check fine details. Very thin lines, tiny separate elements and faint transparent effects may not transfer reliably.
- Crop closely around the design. Extra transparent space can make sizing and positioning confusing.
- Proofread the file. Confirm names, dates, spelling and every size variant before ordering.
Keep artwork in its normal reading orientation unless the ordering instructions specifically request otherwise. Do not mirror it simply because you have used mirrored files for another transfer process.
Our print-ready service prints the file supplied. Do not assume backgrounds, spelling or layout will be corrected during production. Read the DTF artwork requirements and FAQs before uploading.
Printed colours can differ from a screen. For a colour-critical job, assess a physical sample on the intended garment before committing to a larger order.
Order individual sheets or gang sheets
An individual sheet provides a defined printable area. It can contain one design or several smaller designs, subject to the product’s layout requirements.
A gang sheet combines designs, copies or sizes across a larger area. You might include chest logos, back prints, sleeve graphics and different customer jobs on the same sheet.
When preparing a gang sheet:
- check each design’s finished dimensions and quantity;
- leave enough room to cut between transfers safely;
- keep a separate layout reference so similar designs can be identified;
- avoid shrinking artwork simply to fit an extra copy;
- fill spare space with designs you expect to use.
Any text or job reference included in the printable artwork may print too. Keep your cutting plan and order notes separate unless you deliberately want them on the sheet.
Choose the available format on our custom DTF gang sheet product page. Use the current product page for dimensions, options and ordering requirements.
Choose and test the garment
Check the exact style and colour you intend to print. Different colours in the same garment range may have different blends or dyes.
Look for a flat print area and confirm that the garment can tolerate the required heat. Coatings, open mesh, heavy texture and stretch can affect the result.
Polyester needs particular care because heat can cause garment dye to move into the print. Lower-temperature application can help on suitable garments, but it does not guarantee that every polyester product will work.
Make a sample before a production run and assess the fabric as well as the print. Our T-shirt fabric guide explains the main fabric choices and their printing considerations.
Set up your equipment and workspace
For standard ready-to-press transfers, choose a heat press that provides consistent temperature and even pressure across the whole design. The garment needs to sit flat without seams or closures interfering with contact.
You will also need the recommended cover sheet, a lint roller, a ruler or placement guide, and scissors or another suitable tool for separating transfers. Heat-resistant tape can help with placements that may move.
Make room to prepare garments, press them and let finished items cool. Keep unprinted garments and transfers organised by job to avoid mixing up sizes or designs.
A household iron is a different application method. Use products specifically sold with iron-on instructions rather than trying to reproduce heat-press settings with an iron.
Current Insta-Peel heat-press settings
These settings match our current Insta-Peel application guide. They are starting points for DTF Transfers Australia Insta-Peel transfers applied with a heat press.
| Setting | Cotton and other suitable fabrics | Polyester |
|---|---|---|
| Temperature | 160°C | 120°C |
| Initial pressing time | 8 seconds | 30 seconds |
| Pressure | Firm | Firm |
| Peel | Immediately, while hot | Cold peel only — cool completely before peeling |
| Finishing press | 10 seconds at the same temperature, with a clean cover sheet | 10 seconds at 120°C, with a clean cover sheet |
Test before production. Heat presses vary in accuracy and pressure, and garments respond differently. Check the instructions supplied with your transfer, particularly if you are using older stock or a different product.
How to apply an Insta-Peel DTF transfer
- Prepare the garment. Remove lint and pre-press to remove wrinkles and moisture. If steam appears, let it escape and repeat as needed until the garment is dry, taking care with heat-sensitive fabric.
- Position the transfer. Place the adhesive side against the fabric with the carrier film facing up. Check alignment, orientation and the distance from the neckline or seam.
- Add the cover sheet. Gently cover the transfer without moving it.
- Complete the initial press. Use the temperature, time and pressure established for the garment. Make sure the whole design receives even contact.
- Peel immediately. Open the press, remove the cover sheet and carefully peel the carrier film while hot, using a smooth movement.
- Finish pressing. Place a clean cover sheet over the exposed design and press for 10 seconds at the same temperature.
If part of the design lifts while peeling, stop. Carefully return the film to position, replace the cover sheet and repress as directed in the fitting guide. Review the cause before continuing with more garments.
Let the finished shirt cool before folding or packing. Keep the full fitting instructions available beside the press.
Check the finished print
Inspect the garment under good lighting. Check that the design, size and placement match the order, and look for missing details, lifted edges, press marks or colour changes.
Check the garment itself for damage or marks. Do not assume that an easy peel confirms a durable bond.
For a new garment and transfer combination, allow the recommended waiting period and complete a wash test. With polyester, also allow time to check for dye migration that may not appear immediately.
Troubleshoot common DTF problems
| Problem | What to check |
|---|---|
| The design lifts with the film | Confirm the transfer type and peeling method, then check moisture, temperature, pressing time and pressure. |
| Only one area fails to attach | Look for a seam, pocket, thick layer or uneven platen contact beneath that area. |
| The garment has a press mark or shine | Review fabric suitability, settings and contact surfaces on a spare garment before continuing. |
| The garment dye changes the print colour | Stop and assess dye migration. Check transfer compatibility and the recommended polyester process; more heat may worsen it. |
| Edges lift after washing | Review the complete application, including drying the garment, the finishing press and care instructions. |
| Artwork looks blurry | Inspect the source file at its final dimensions. Additional pressing cannot restore missing image detail. |
Change one setting at a time during testing and record the result. If repeated attempts fail, seek advice before applying more heat or using further customer garments.
Store unused transfers carefully
Keep transfers clean, dry and protected from creasing, dust and excessive heat. Follow the storage guidance for the product, and avoid leaving transfers beside the heat press.
Label stored sheets or their packaging with the design, print size, transfer type and order reference. Keep the relevant application instructions with older stock so it is not mistaken for a newer film.
If storage conditions are uncertain, test a transfer before using it on a customer order. See our DTF transfer storage guide for more detail.
Care for the printed garment
Follow both the garment label and the transfer care instructions. Our general DTF care guidance is to:
- wait 24–48 hours before the first wash;
- turn the garment inside out;
- use a cool or cold gentle wash;
- avoid bleach;
- air dry and avoid tumble drying;
- keep irons off the printed design.
Provide care instructions with finished orders. Print life depends on the garment, transfer, application and use, so avoid promising a fixed number of washes without evidence for that specific product.
Keep repeat orders consistent
A simple job record helps you reproduce an approved result. Keep the artwork version and dimensions, garment style and colour, transfer order reference, placement and successful pressing settings together.
Photograph the approved sample and record any test results. Recheck the process when the garment, transfer or equipment changes.
If you are selling the finished garments, our guide to starting a T-shirt business with DTF transfers covers pricing, samples and order management.
Before you start a batch
- The artwork is approved, correctly sized and ready to print.
- The transfer type and instructions have been identified.
- The actual garment style and colour have been tested.
- The press is warmed up and providing consistent heat and pressure.
- The print area is clean, dry and clear of obstructions.
- The application and finishing settings are recorded.
- A finished sample has been inspected and wash-tested where needed.
- The order details and customer care instructions are ready.
Frequently asked questions
Do I need a DTF printer?
No. You can buy transfers ready to press. The supplier completes the printing and curing, and you apply the transfers to suitable garments.
Can DTF transfers print white on a black T-shirt?
Yes. Standard full-colour DTF includes white ink, allowing white details and coloured designs to show on suitable dark garments.
Is a gang sheet one large transfer?
It can contain several separate designs, copies or sizes. Cut the sheet into the transfers you need before applying them. Check the layout and cutting space before ordering.
Do all DTF transfers peel immediately?
No. Our Insta-Peel heat-press transfers peel immediately, while our speciality transfers must cool completely. Iron-on products have their own application method.
Can I use the same settings on cotton and polyester?
Do not assume so. Our Insta-Peel guidance has separate starting settings for cotton and polyester. Test the actual garment and follow the instructions for the transfer.
Do I need to powder or cure ready-to-press transfers?
No. Those production steps have already been completed. Apply the transfer according to its fitting instructions, including any required finishing press.
Does the second press replace the first press?
No. The initial press applies the transfer. The finishing press takes place after the carrier film is removed, with a cover sheet over the print. Complete both stages as specified.
What should I do if I am unsure which film I have?
Check the product name, packing information and supplied instructions. If it is still unclear, contact the supplier before pressing rather than guessing from the film’s appearance.
Ready to prepare your next print?
Choose the garment, prepare the artwork and test the complete application before starting the job. Clear files and a repeatable pressing process make it easier to produce consistent results.
Order a custom DTF gang sheet or browse our ready-to-press transfer range to find the format and finish for your project.
