
Pressing and Care
How to Print DTF Transfers on Black T-Shirts
Sep
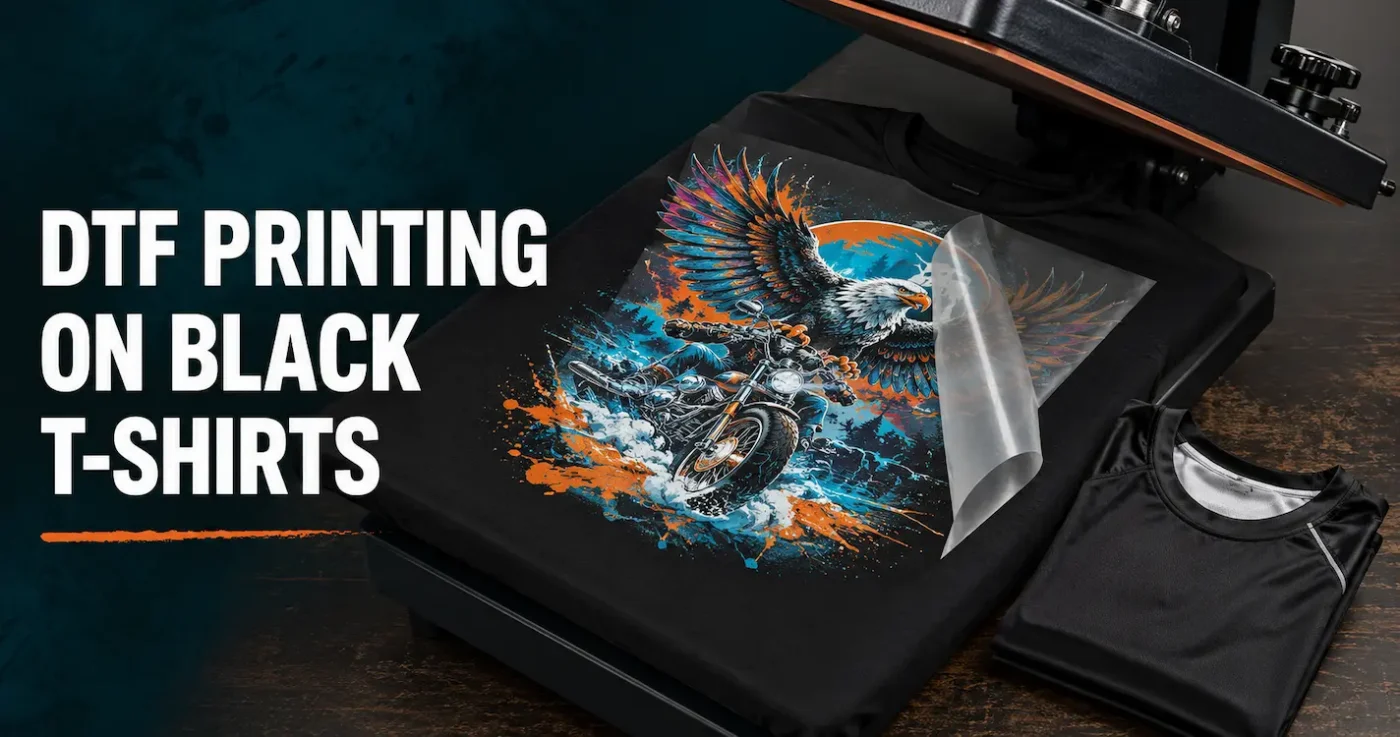
Short answer: DTF transfers work very well on black T-shirts because a white ink layer sits behind the coloured artwork, helping the design remain bright against the dark garment. The cleanest results come from using transparent, print-ready artwork, choosing a suitable shirt, removing only the black areas that should genuinely be replaced by the garment, and testing the correct time, temperature and pressure before a production run.
A black T-shirt is a strong background for colourful artwork, white lettering, photographs and detailed graphics. It can also expose problems that are less noticeable on a light garment: unwanted black boxes in the artwork, mismatched printed blacks, visible lint, press marks and dye migration from some polyester fabrics.
This guide focuses on those black-shirt-specific decisions. For a broader introduction to the process, visit our DTF transfer guide.
Why DTF works on black T-shirts
A DTF design is printed in colour onto transfer film, followed by a white ink layer behind the colour. Adhesive is applied during production and the completed transfer is cured before it reaches the customer. When the transfer is heat pressed, the white layer helps stop the black fabric from visually dulling the coloured print.
This is sometimes described as DTF not needing an underbase. More accurately, DTF normally includes its own white backing layer within the printed transfer. The person applying a ready-to-press transfer does not need to create or align a separate white screen-printing underbase.
That construction makes DTF suitable for detailed, full-colour artwork on dark garments. It also means the finished feel depends partly on how much printed area the design contains. A solid rectangular image will naturally feel heavier than lettering, distressed artwork or a design with open areas.
Choosing the right black T-shirt
There is no single perfect black tee for every order. The right garment depends on the intended look, feel, budget and use. Fabric composition also determines the safest starting press settings.
| Garment | Why people choose it | What to check before printing |
|---|---|---|
| 100% cotton | Soft everyday feel and generally straightforward DTF application | Moisture, surface lint, seams and whether the fabric is heavily textured |
| Cotton/polyester blend | Balances comfort, stability and durability | The actual fibre blend and how the garment responds to heat |
| 100% polyester | Lightweight, durable and common in sports and workwear | Dye migration, scorching, press marks and the manufacturer’s heat limits |
| Faded or garment-dyed black | Creates a worn, fashion-focused appearance | Shade variation, wash effects and whether the print style suits the uneven colour |
A smooth, stable print area is usually easier to work with than a coarse or highly stretchy surface. Check that there are no seams, pockets, buttons or zips underneath the intended design. These can prevent the heat press from applying even pressure.
Black shirts also show lint clearly. Remove loose fibres from the print area before positioning the transfer. If you are printing an unfamiliar garment, sacrifice one shirt for testing or test in an inconspicuous area before committing to the whole order.
For more detail about fibre types and garment behaviour, see our guide to different T-shirt fabrics.
Designing artwork for a black shirt
Let the garment provide the black
Where the design contains large areas of black, you can often remove those areas and make them transparent so the shirt itself becomes part of the artwork. This can reduce the printed area, improve flexibility and make the design feel more integrated with the garment.
Only remove black that is meant to become open space. Keep black details that need to remain visually distinct, such as pupils, outlines, shadows or features surrounded by a lighter colour. Once a section has been made transparent, the garment will show through it.
Avoid relying on a perfect black colour match
Printed black ink and black fabric are different materials. They reflect light differently and may not appear identical, even when the artwork looks correct on screen. A large printed black background can therefore look like a panel sitting on top of the shirt.
When possible, crop the background away or use an intentional border, distress, fade or irregular edge. If solid black must be printed, treat the contrast with the fabric as part of the design rather than assuming the two blacks will disappear into each other.
Use contrast deliberately
White, warm colours and bright saturated colours generally create strong contrast on black. Dark navy, dark brown and deep purple can become difficult to distinguish at normal viewing distance. Thin dark details may also visually close up when surrounded by the garment colour.
Preview the artwork on a black background, but always inspect the transparent file separately before ordering. A black preview can hide stray pixels, an unwanted dark rectangle or accidentally deleted details.
Allow for the white backing
Fine semi-transparent effects, soft glows and feathered edges may print differently from the way they appear on a backlit monitor. The white layer behind the colour helps opacity, but it can also make faint pixels more visible. Check soft edges at high magnification and remove any unwanted background remnants.
Our essential T-shirt design tips explain more about sizing, contrast and designing for the garment rather than only for the screen.
Preparing your print file
Supply the artwork as a transparent PNG at the intended print size. The standard requirements for DTF Transfers Australia are:
- 300 DPI at the final size;
- a transparent background;
- tight cropping around the design;
- a maximum file size of 254 MB; and
- no isolated detail smaller than approximately 4 pixels or 1 mm.
Before uploading, check spelling, dates, orientation, transparency, colour choices and stray pixels. Files are printed as supplied as part of a budget production service, so routine manual artwork checking is not included.
Do not simply delete every dark pixel with an automatic background-removal tool. Zoom in and confirm that the process has not damaged outlines, hair, shadows or other deliberate detail. You can review the full DTF artwork requirements before placing the order.
Starting heat-press settings
The following settings are practical starting points for DTF Transfers Australia’s standard Insta-Peel transfers. They are not guarantees for every heat press or garment. Use the instructions supplied with your order and test the exact transfer, shirt and press before production.
| Garment type | Temperature | Time | Pressure | Peel | Final press |
|---|---|---|---|---|---|
| Cotton and suitable standard fabrics | 140°C | 8–10 seconds | Firm | Immediately while hot | 10 seconds |
| Polyester | 120°C | 30 seconds | Firm | Cold peel only — cool completely before peeling | 10 seconds at 120°C |
Temperature displays are not always accurate, platens can have cool spots, and pressure descriptions vary between machines. Polyester garments also vary substantially in dyes, coatings and heat tolerance. Read our guide to DTF printing on polyester if the black shirt is synthetic or dye-prone.
How to apply a DTF transfer to a black T-shirt
- Inspect the garment. Confirm its fabric composition and care label. Check the print area for seams, coatings, moisture and visible lint.
- Prepare the press. Set the temperature, time and firm pressure for the garment. Allow the press to reach a stable temperature.
- Pre-press until dry. Press the shirt and check for steam when the press opens. If you see steam, repeat until the garment is dry. Pre-pressing also flattens the print area.
- Position the transfer. Place the adhesive side against the garment and confirm that the design is straight, centred and facing the correct direction. Use heat-resistant tape when the transfer may move.
- Complete the first press. Follow the tested settings for that garment and transfer. Keep collars and raised seams away from the platen or support the print area with a suitable pressing pillow or pad.
- Peel correctly. On cotton and most fabrics, standard Insta-Peel film is peeled immediately while hot. On polyester, cold peel only after cooling completely. Specialty transfers use different instructions and are cold peel.
- Final press. Cover the design with a suitable finishing sheet and press for 10 seconds. This helps finish the surface and complete the application.
See the current DTF transfer fitting instructions before pressing, particularly if the order includes a specialty finish rather than a standard Insta-Peel transfer.
Do black shirts need black adhesive?
No. A black T-shirt does not automatically require Black Fine adhesive. The visible colour comes from the printed design and its white ink backing; the adhesive is used to bond the transfer to the garment.
DTF Transfers Australia currently uses White Fine and Black Fine adhesives in production. Black Fine may be useful for selected dark or dye-prone garments, but it is not universally better and it is not a guaranteed dye blocker. Garment chemistry, dye stability, temperature, time and pressure can all influence the outcome.
Customers receive finished, cured transfers and do not need to apply or cure adhesive themselves. For a more detailed comparison, read when Black Fine DTF adhesive may help.
Troubleshooting DTF prints on black shirts
| Problem | Likely cause | What to check |
|---|---|---|
| A black rectangle or halo appears around the design | The artwork background was not fully transparent or faint pixels remained | Inspect the PNG on both light and dark backgrounds and clean the edges before reordering |
| Important dark details disappear | Too much black was removed from the artwork, or the detail has too little contrast | Restore deliberate black details or adjust the colour and outline for separation from the shirt |
| Printed black does not match the garment | Ink and fabric reflect light differently | Remove unnecessary printed backgrounds or use an intentional edge instead of relying on a colour match |
| Transfer lifts during peeling | Insufficient pressure, moisture, uneven contact or incorrect settings | Stop peeling, lay the film back down, reassess the press and test pressure, dryness, time and temperature |
| White or pale areas become tinted after pressing | Dye migration from polyester or another unstable dyed fabric | Reduce heat exposure where appropriate, test the garment and do not assume adhesive alone will prevent migration |
| The shirt has a shiny box or platen mark | Excessive heat or pressure, or a heat-sensitive fabric finish | Test lower-risk settings for the fabric and use appropriate support around the print area |
| Small isolated details fail | The elements are too fine, or contact across the design is uneven | Avoid isolated elements below approximately 4 pixels or 1 mm and check the platen for even pressure |
Change one variable at a time during testing. If temperature, time and pressure are all changed together, it becomes difficult to identify what solved—or caused—the problem.
Caring for the finished shirt
Allow 24–48 hours after application before washing. Turn the shirt inside out, use a gentle wash, avoid bleach and harsh chemicals, and follow the garment manufacturer’s care label. Line drying is gentler than high tumble-dryer heat. Do not place a hot iron directly onto the printed design.
The garment matters as much as the print. A low-quality black shirt may fade, twist or shrink even when the transfer remains securely attached, so evaluate the blank garment before using it for retail or repeat customer orders.
Frequently asked questions
Do DTF transfers show up on black T-shirts?
Yes. DTF transfers normally include a white ink backing layer that supports the coloured artwork and helps it remain visible on black fabric. This makes DTF suitable for white lettering, bright colours, detailed illustrations and photographic designs on black shirts.
Should I remove all black from artwork for a black shirt?
No. Remove only the black areas that you intentionally want the shirt to replace. Keep black outlines, features and shadows that are necessary to the design. Review the transparent PNG carefully because the garment will show through every transparent pixel.
Why does printed black look different from the black shirt?
Printed ink has a different surface and sheen from dyed fabric. The garment may also be blue-black, warm black, faded black or textured. Rather than depending on an exact match, use transparency or an intentional border where possible.
Is cotton or polyester better for a black printed T-shirt?
Cotton is generally the more straightforward starting point for everyday printed tees. Polyester can also produce excellent results, particularly for sportswear, but it requires lower-temperature testing because some black polyester dyes can migrate into pale parts of the design.
Will Black Fine adhesive stop dye migration?
Not in every garment. Black Fine may help with selected dark or dye-prone fabrics, but it is not a guaranteed blocker. Test the exact garment, transfer and pressing conditions before production.
Can I press a DTF transfer over a seam or pocket?
It is best to avoid raised seams, collars, pockets, zips and buttons beneath the transfer. They can stop the platen from applying even pressure. If the placement cannot be changed, support the print area correctly and run a test first.
Where can I order transfers for black shirts?
You can build a custom DTF gang sheet for multiple designs or browse the DTF Transfers Australia shop for available sheet sizes and finishes. Upload transparent, print-ready artwork and check every detail before submitting the order.
Build the black shirt and print as one system
A strong result does not come from the shirt, artwork or transfer in isolation. Choose a garment that can tolerate the application process, design with the black fabric in mind, supply clean transparent artwork and test the press settings on the actual shirt. When those decisions work together, DTF can produce a bright, detailed and comfortable print without an unnecessary block of ink around the design.
