
Artwork and Files
How to Create Print-Ready T-Shirt Designs with AI
Oct
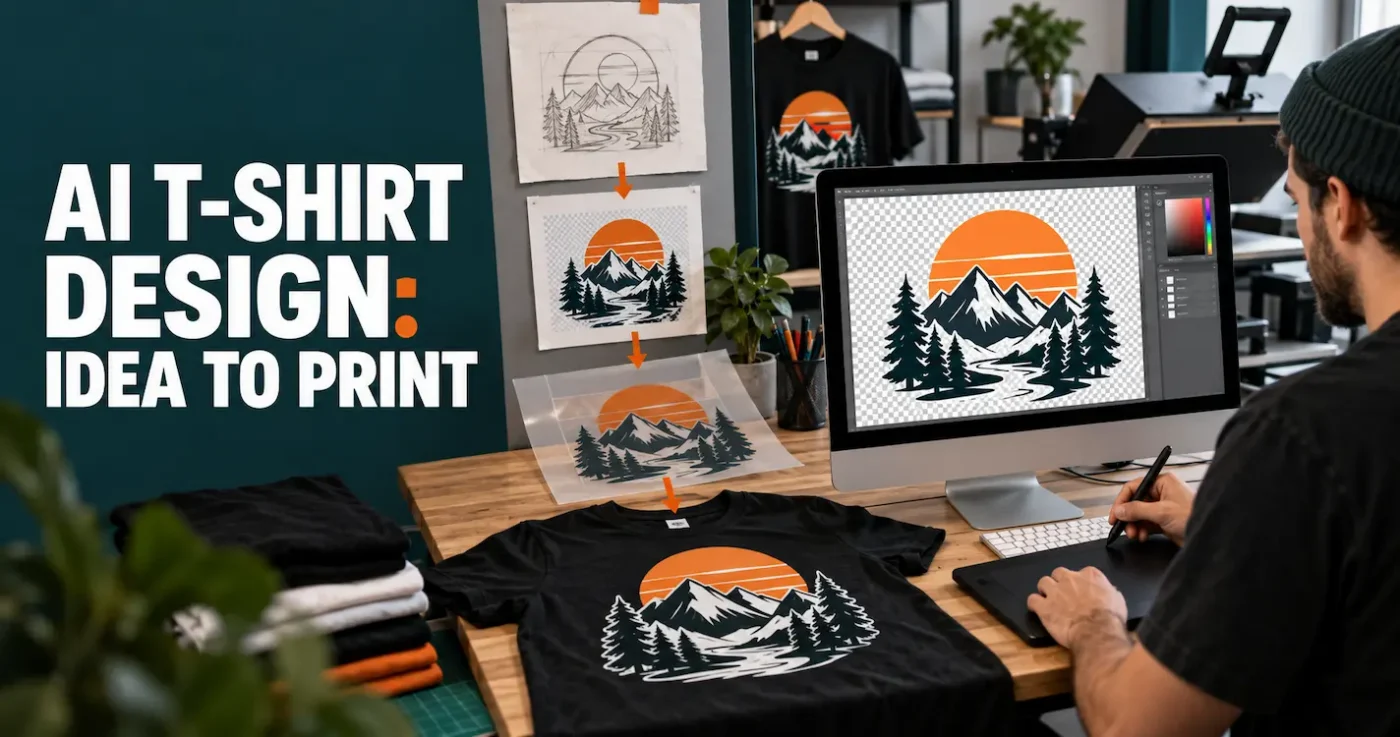
Short answer: AI image generation can help you explore T-shirt ideas quickly, but the generated image is only a starting point. Before ordering a DTF transfer, check the concept for intellectual-property risks, correct distorted details and spelling, remove the background cleanly, set the artwork to its final print size and export a tightly cropped transparent PNG at 300 DPI. Always inspect the actual file at 100% size and test the finished design before producing a customer order.
Originally published 22 October 2023. Last updated 5 September 2026.
What AI can—and cannot—do for T-shirt design
AI image tools are useful for turning a written idea into visual directions. They can help you explore subjects, compositions, colour palettes and illustrative styles without drawing every concept from scratch. This makes them valuable for brainstorming a new range, comparing several approaches or producing a rough visual for further editing.
However, an attractive preview is not the same as production artwork. A generated image may contain misspelt words, inconsistent linework, accidental background pixels, strange anatomy, unwanted objects, imitations of existing brands or details too fine to survive printing. It may also be too small for the intended chest or back print.
The most reliable approach is to use AI as one tool in a human-led design process:
- define the audience, message and garment;
- generate several original visual directions;
- choose and edit the strongest concept;
- add accurate typography separately;
- check copyright, trade marks and the tool’s terms;
- prepare a transparent, correctly sized print file; and
- order a sample and test it before a production run.
If you are still planning the layout, colour and print position, begin with these essential T-shirt design tips.
Choosing an AI image tool
Popular tools include ChatGPT Images, Adobe Firefly, Canva’s AI features and Midjourney. Each has a different workflow, editing system, subscription model and set of usage terms. Features change frequently, so choose according to the work you need to complete now rather than an old “best AI generator” ranking.
| What to compare | Why it matters for shirt artwork |
|---|---|
| Generation and editing | Being able to revise selected areas can be more useful than repeatedly generating the entire design. |
| Background handling | A transparent or easily removable background saves time, but it still needs inspection for halos and stray pixels. |
| Image dimensions | The output needs enough real detail for the intended physical print size. |
| Text control | Even when a tool can render words, every character, date and punctuation mark requires checking. |
| Commercial-use terms | Permission, ownership language and restrictions vary by provider, plan, model and jurisdiction. |
| Privacy and uploads | Do not upload confidential client artwork or reference material unless you understand how it may be stored or used. |
Current official information is the safest place to confirm a feature or licence. For example, OpenAI describes its current ChatGPT image generation and editing, Adobe explains commercial use of Firefly outputs, and Canva publishes guidance on using Magic Studio safely and legally. Read the terms that apply when you generate the final asset; do not rely on a blog post or screenshot from several years ago.
Plan the design before prompting
A vague prompt often produces a generic image. Before opening an AI tool, write a short creative brief covering:
- Audience: who will wear the shirt?
- Purpose: is it merchandise, a uniform, an event shirt or a one-off gift?
- Main subject: what should the viewer notice first?
- Visual style: bold vector-like art, hand-drawn ink, retro badge, collage, cartoon or another defined direction?
- Garment colour: will the design sit on black, white, a bright colour or several garments?
- Print position and size: small left chest, standard front, oversized back or another placement?
- Colour palette: full colour or a controlled set of brand colours?
- Text: what exact wording must appear, and can it be added manually?
Also decide what the design must not include. Excluding mock-ups, scenery, frames, brand logos, copyrighted characters and extra wording can steer the generator towards a cleaner graphic. Ask for an isolated, centred composition, but expect to clean the background yourself.
A reusable AI T-shirt design prompt
Use this structure as a starting point and replace the brackets with details from your brief:
Create an original [subject] T-shirt graphic for [audience]. Use a [visual style] with a centred, isolated composition and a [colour palette], designed to contrast with a [garment colour] shirt. Include [important visual details]. No T-shirt mock-up, no background scene, no brand logos, no copyrighted characters and no extra text. Leave clean negative space for the exact wording to be added separately.
Then refine one variable at a time. You might ask for a simpler silhouette, thicker outlines, fewer colours, more open negative space or a less rectangular composition. Keeping the changes specific makes it easier to understand which instruction improved the result.
Add important wording manually
If a design depends on a business name, date, place, slogan or phone number, add it in proper design software after generating the illustration. This gives you control over spelling, font choice, spacing, curves and alignment. It also makes future corrections much easier than trying to regenerate an entire image for one faulty letter.
Generate and refine the concept
Generate several distinct directions rather than selecting the first attractive result. View them as rough concepts and ask:
- Is the focal point obvious at normal viewing distance?
- Does the silhouette suit a shirt rather than a square screen?
- Will the colours remain clear on the chosen garment?
- Are important parts separated, or do they merge into visual clutter?
- Does anything resemble a familiar logo, character, product or artist’s recognisable work?
- Can the design be edited without rebuilding every detail?
Save the prompt, the chosen generation and subsequent versions. A simple project folder containing source images, licences, prompts, edits and exports makes later corrections easier and provides a record of how the artwork was developed.
Edit the artwork instead of printing the first result
Open the chosen concept in Photoshop, Affinity Photo, Photopea, Illustrator, CorelDRAW or another editor you understand. The goal is not merely to make the image look good on screen; it is to make every printed pixel intentional.
Inspect the image at 100%
Look for malformed hands, eyes and objects; broken symmetry; inconsistent patterns; accidental faces; muddy shadows; repeated textures; partial outlines; misspelt text; and tiny marks floating away from the main design. AI images can appear convincing when reduced, while obvious defects become visible at print size.
Clean the edges and background
A white background is not transparent. Remove it, then place the artwork temporarily over black, white and a bright colour to reveal pale halos, dirty edges and forgotten pixels. Transparency means no ink will print in that area, so inspect internal cut-outs as well as the outside edge.
Simplify fragile details
Merge or remove isolated specks and hairline details that will not make a dependable transfer. DTF Transfers Australia recommends avoiding isolated elements below approximately 4 pixels or 1 mm. Thicken essential lines where necessary and judge them at the final physical size, not at a heavily zoomed screen view.
Check colour against the garment
A design made on a bright white screen may lose definition on a dark shirt. Test the artwork over a digital swatch close to the garment colour. Do not automatically delete black from artwork intended for a black garment: black shading, outlines and separations may be essential to the design. Remove a colour only when you deliberately want the fabric to show through.
Copyright, trade marks and commercial use
Do not assume an AI output is automatically unique, free of third-party rights or protected by copyright. IP Australia notes that AI-assisted works raise complex questions about human authorship and copyright protection. It also warns that uploaded prompts and reference material may contain protected intellectual property and that individual tools have different terms for storing and reusing inputs.
Before selling a shirt:
- avoid protected characters, logos, lyrics, celebrity likenesses and recognisable branded products;
- do not ask for a close imitation of a living artist or another creator’s distinctive work;
- use only reference images you created, licensed or have permission to upload;
- run reverse-image and trade mark searches when a design could be confused with an existing brand;
- read the current commercial-use terms for the exact tool, plan and model used;
- keep records of your prompts, source material, licences and substantial human edits; and
- obtain professional advice when a design is commercially important or legally uncertain.
Read IP Australia’s current guidance on using AI to create intellectual property, and see our practical guide to avoiding copyright problems with T-shirt designs. This section provides general information, not legal advice.
Prepare AI artwork for DTF printing
Once the concept and rights checks are complete, prepare the production file to the same standard as any other DTF artwork.
| Requirement | What to supply | Why it matters |
|---|---|---|
| File format | Transparent PNG | Preserves intended transparent areas and a raster image suitable for printing. |
| Resolution | 300 DPI at the intended print size | A small image labelled 300 DPI does not gain detail; the pixel dimensions must support the physical size. |
| Canvas | Tightly cropped around the artwork | Large empty margins can cause incorrect sizing and waste gang-sheet space. |
| Fine detail | No isolated elements below about 4 pixels or 1 mm | Extremely small separate details may not print or transfer dependably. |
| File size | Maximum 254 MB | Keeps the file within the current upload requirement. |
| Final checks | Spelling, dates, colour, orientation, transparency and stray pixels | Files are printed as supplied; routine manual artwork corrections are not included. |
Work backwards from the final print size
At 300 DPI, a 300 mm-wide print needs approximately 3543 pixels across. A 100 mm-wide left-chest design needs approximately 1181 pixels. Set the intended dimensions first, then inspect whether the file contains enough useful detail.
Upscaling software can increase pixel dimensions and sometimes improve edges, but it cannot guarantee that invented texture becomes accurate artwork. Review the enlarged result carefully. Our guide to AI upscaling for DTF printing explains when it helps and when the source image should be recreated.
Print-ready artwork checklist
Before uploading your AI-assisted T-shirt design, confirm every item below:
- The design is original in concept and does not deliberately imitate protected work.
- You have reviewed the AI provider’s current terms for commercial use.
- All text, dates and numbers are correct.
- Hands, faces, objects, patterns and repeated details have been inspected.
- The background is genuinely transparent, not white.
- There are no pale halos, stray pixels or unintended transparent holes.
- Fine isolated elements meet the approximate 4-pixel or 1 mm minimum.
- The artwork is at the exact physical size required.
- The pixel dimensions support 300 DPI at that size.
- The design has been viewed over the intended garment colour.
- The PNG is tightly cropped, correctly oriented and no larger than 254 MB.
- You have saved an editable master file before exporting the print PNG.
For a more detailed preflight, use the DTF artwork FAQ.
Order and test the transfer
Upload the finished PNG to the appropriate DTF gang-sheet product or review the current transfer range. Arrange multiple designs efficiently without allowing them to overlap, and check the dimensions shown before submitting the order.
For a new design, garment or important customer order, begin with a sample. Apply it using the current transfer fitting instructions, inspect fine lines and edges, then complete a wash test. A physical sample can reveal weak contrast, unreadable small text or fragile detail that looked acceptable on a monitor.
AI can shorten the route to a promising idea. Careful editing, correct file preparation and testing are what turn that idea into a shirt you can confidently sell or wear.
Common AI T-shirt design mistakes
Printing the first generated image
The preview may hide defects and may not have enough pixels for the intended print. Treat it as a concept and complete the editing and preflight process.
Asking AI to create all the typography
A convincing word is not necessarily the correct word. Add important text manually so spelling, spacing and type are controlled.
Confusing white with transparency
A white rectangle will print as white ink. Check for a transparency grid in your editor and inspect the exported PNG over several background colours.
Changing the DPI label without adding detail
Typing “300 DPI” into a file setting does not make a small image high resolution. Pixel dimensions and physical print size must be evaluated together.
Assuming commercial use means no legal risk
A provider’s terms may allow use of outputs while still placing responsibility on you. It does not guarantee that the image is unique or cannot resemble protected material.
Leaving hundreds of tiny isolated specks
AI textures can create scattered pixels and hairline marks. Simplify these areas so the transfer is practical to print, apply and wear.
Frequently asked questions
Can I use AI to design a T-shirt?
Yes. AI can help develop original concepts and visual elements, but you should review, edit and prepare the result before printing. You are responsible for the artwork you supply and how it is used.
Can I sell T-shirts with AI-generated images?
Possibly, provided the tool’s current terms permit commercial use and your design does not infringe another party’s rights. The answer can depend on the provider, plan, model, source material and jurisdiction. Check the applicable terms and seek legal advice for valuable or uncertain designs.
Are AI-generated images automatically copyright-free?
No. “AI-generated” does not mean “free of copyright concerns”. Inputs may be protected, outputs may resemble existing material, and whether the final work receives copyright protection can depend on the level of human creative contribution and applicable law.
Should I tell the AI to create a transparent background?
You can request an isolated design or transparency if the tool supports it, but always verify the exported file. A preview that appears plain or chequered does not prove every unwanted pixel has been removed.
Is 300 DPI enough for a DTF transfer?
Only when the file has sufficient pixel dimensions at the intended physical print size. A 1000-pixel-wide image may be suitable for a small print but will not become detailed oversized back artwork just because its metadata says 300 DPI.
Can DTF Transfers Australia fix my AI artwork?
Files are printed as supplied under the current budget service. Routine manual checks and corrections are not included, so confirm transparency, stray pixels, spelling, dates, colours, orientation and print size before ordering.
What file should I upload?
Supply a tightly cropped transparent PNG, prepared at 300 DPI at the exact intended print size, no larger than 254 MB. Avoid isolated elements below approximately 4 pixels or 1 mm.
Can AI upscale a small logo for printing?
AI upscaling may improve some artwork, but it can also invent details, alter lettering or distort a logo. Compare the result with the authorised original. For important brand assets, obtaining a proper vector or high-resolution master is usually safer.
Do I need a test print?
Yes, especially for a new AI-assisted design, fine details, small type, unfamiliar garments or a customer production run. A sample and wash test are the most dependable way to assess the complete design, transfer and application process.
