
All Posts, Direct To Film, Helpful Info
A Guide to Scaling DTF Transfers
May
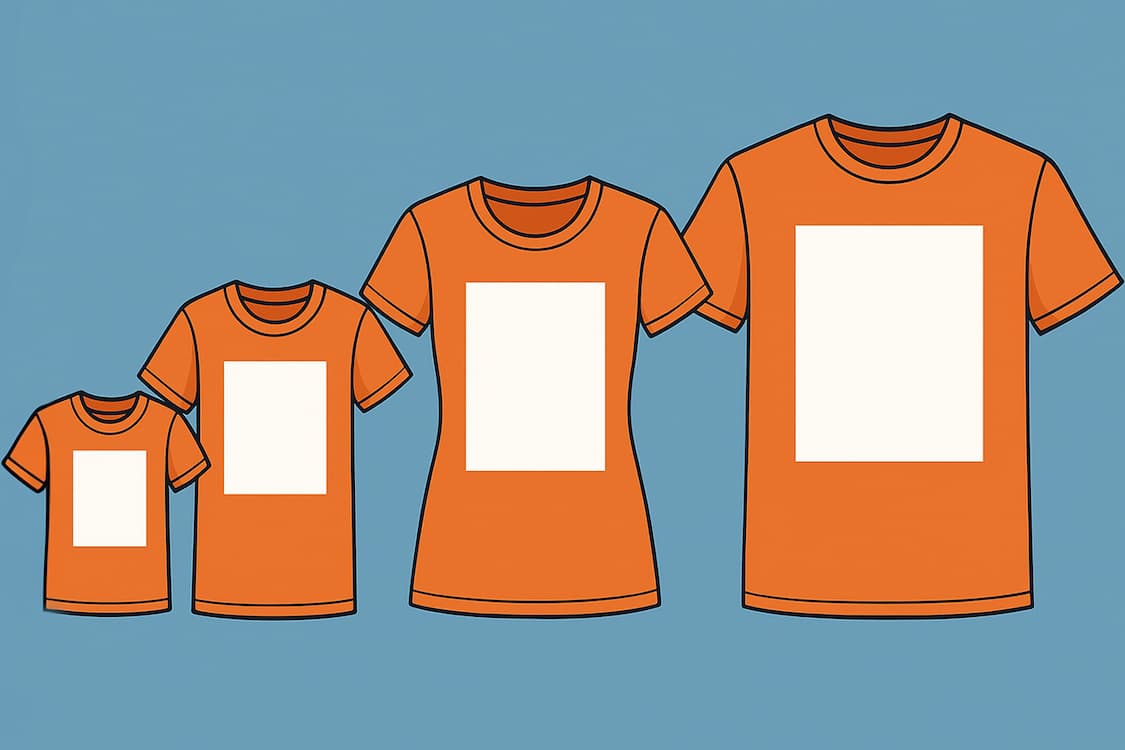
Size really does matter: Your conversational guide to scaling DTF transfers for every tee in the wardrobe
So you’ve got a brilliant design, a hot heat-press, and a stack of blanks waiting for their makeover. But here’s the catch: if you drop the exact same transfer on a kid’s size 4 and a men’s 2XL, one of them will look like a postage stamp and the other like a billboard. Let’s chat about how to keep your prints looking spot-on—whether they’re headed for toddler tees, fitted ladies’ cuts or beefy workwear.
1. First principles: think proportion, not absolute numbers
Most decorators shoot for the print to fill roughly 60–70 % of the shirt’s usable width—that sweet spot where the art feels intentional but not cramped. Grab a tape, measure the garment flat (armpit to armpit) and do the maths. A 50 cm-wide 2XL? Your full-front wants to be about 30–35 cm wide. A 34 cm kids’ tee? Drop to the low-20s. General, yes—but it keeps you out of trouble.
- Real-world check: Print the artwork on office paper at “actual size”, tape it to the shirt and stand back. If it looks balanced, it is.
2. Kids’ tees: small canvases, big headaches
Children’s garments come in big jumps (size 4, 6, 8…) and each brand cuts them a little differently. As a baseline:
| Kids tee size | Chest width of garment | Comfort-fit full-front width |
|---|---|---|
| 4–6 | ≈ 34–37 cm | 18–22 cm |
| 8–10 | ≈ 39–42 cm | 22–24 cm |
| 12–14 | ≈ 44–47 cm | 24–26 cm |
A common slip-up is forgetting to shorten the design’s height—a 22 cm-wide cartoon may still drop below the belly if it’s too tall. Shrink proportionally or re-stack the elements tighter.
3. Ladies’ styles: fitted, curved, and a touch shorter
Women’s cuts taper at the waist, sit higher on the hip and often have thinner collars. Here’s a quick guide many Aussie decorators swear by:
-
Sizes 8–10: 23–25 cm wide
-
Sizes 12–14: 25–27 cm
-
Size 16+: 27–29 cm
Because the side seams angle in, keep critical details away from the outer 3 cm of the design so nothing vanishes under the arm. Curvy V-necks? Start your print a centimetre lower to avoid the plunge line.
4. Men’s tees & workwear: room to breathe
Classic unisex tees love 28 to 32 cm wide prints – they read loud and clear without wrapping. For 2XL-3XL, push up to 33 to 35 cm if your art allows; on S-M tees scale it down a little, 25 to 27 cm feels balanced.
5. The mighty left- (or right-) chest logo
Small but mighty, that pocket-area hit sets the professional tone. Standard wisdom says 7–11 cm wide depending on the shirt size:
| Garment type | Logo width |
|---|
| Kids | 6–7 cm |
| Ladies’ S-M | 7–8 cm |
| Adult S-L | 8–9 cm |
| XL-3XL | 9–11 cm |
Placement cues
-
Measure 7–9 cm down from the collar seam.
-
Centre the logo over the side of the chest, not the placket.
-
On polos, align with the button line; on hoodies, watch the pocket edge.
Oversized streetwear look? It’s trending to push chest logos up to 12 cm, but make sure the customer wants that vibe before you commit.
6. Turning one design into a full size run
-
Build at least two masters – one sized for S-M, one for XL-3XL. Kids or slim ladies’ cuts may need a third.
-
Nest smartly on gang sheets – our 55 × 100 cm and 55 × 55 cm sheets at DTF Transfers Australia let you drop multiple versions of the same art so you pay for film once, not five times.
-
Label with a Sharpie right after you trim—no more guessing which transfer is which when the press is 200 °C and ticking.
-
Press order matters – smallest tees first; if you scorch one of the big boys you won’t be able to down-size the print later.
7. Common sizing traps (and easy escapes)
| Oops | How to dodge it |
|---|---|
| Using one file for every shirt | Export separate files at each width—saves frantic trimming on-press. |
| Forgetting hoodie pockets | Cap full-front height to ≈ 28 cm so the art doesn’t straddle the pouch. |
| Lines thinner than 1 mm | Bulk DTF powder may flake—thicken strokes before export. |
| “Floaty” chest logos on tiny garments | Shift inwards 1 cm and shrink width to keep the design visually anchored. |
8. Artwork prep cheat-sheet
-
300 dpi (or vector) at final size.
-
Transparent background, no stray pixels.
-
Convert fonts to outlines.
-
Keep key details 5 mm inside the edge for trimming wiggle-room.
-
Save as PNG; stay under 150 MB for speedy uploads.
9. Final thoughts – trust the tape (and your eyes)
Guides and charts are brilliant, but every brand, cut and artwork is a little different. Measure twice, print a paper mock-up, and look at the shirt on a human if you can. That extra five-minute check separates backyard merch from pro-level apparel.
When you’re ready, hop onto DTF Transfers Australia, load up your perfectly scaled art, and let us bring it to life in rich colour that lasts wash after wash.
Happy pressing—and happy sizing!